Paper Animation From Photo: Free Online Guide (2026)
Turn one photo into paper animation in your browser. Isolate the subject, pick Paper Cut or Paper Plates, then export GIF, WebM, or MP4. Free, no sign-up.
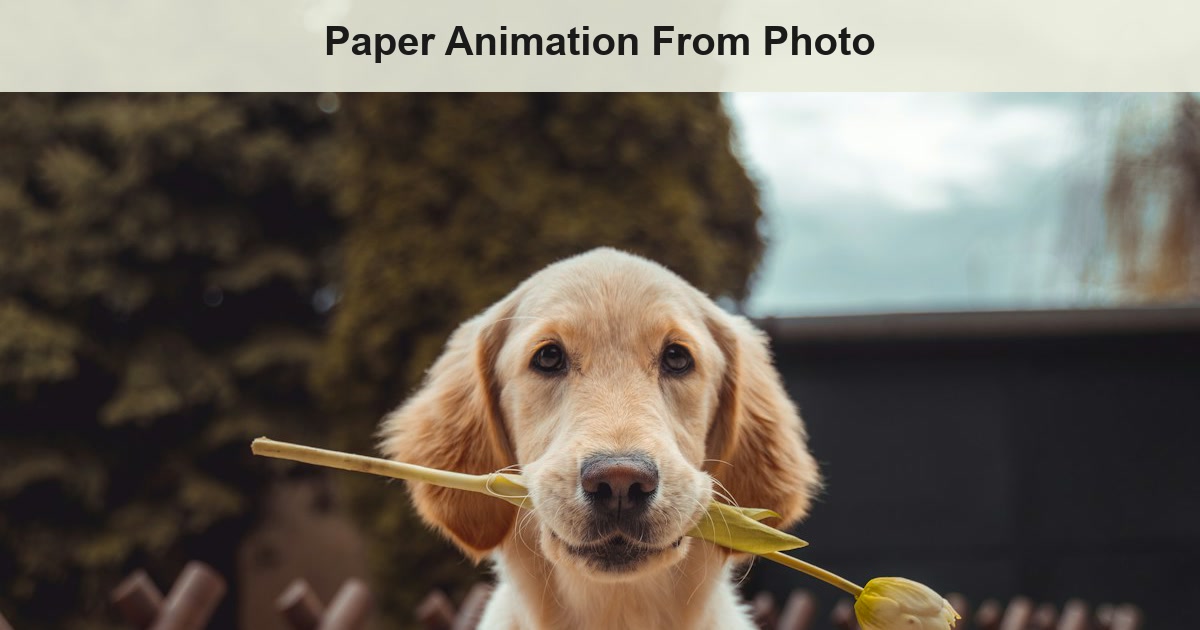
Yes — one photo is enough. Paper animation from a photo means you start with a still PNG, JPEG, or WebP, isolate the subject if the background is busy, choose a paper motion, and export a short loop. You do not need a second frame, a timeline, or a drawing.
On 19 August 2026, that is still the whole job in Paper Animator. The editor opens on one file. If the file is a photograph, the quality of the paper edge depends on the photo, not on a longer tutorial.
This page is the photo-specific workflow. For texture, motion theory, and layered sequences, use the general paper animation guide.
| Key Stat | Value |
|---|---|
| Source | 1 photo (PNG, JPEG, or WebP, up to 10 MB) |
| Longest edge | Capped at 4096px |
| Processing | Local in the current browser tab |
| Modes | News Highlight (keyword), Paper Cut (2D flutter / float), Paper Plates (layered reveal) |
| Subject isolation | Click-to-mask, or paint / erase by hand |
| Export | GIF always; WebM and MP4 when the browser supports them |
| Background | Transparent or green screen |
| Account | None |
What is paper animation from a photo?
Paper animation from a photo is a still photograph treated as a paper object. The picture keeps its original pixels. The motion comes from a paper sheet, a subject cut-out, or a layered paper reveal — not from drawing new frames.
That is different from animating an illustration. A drawing often already sits on a clean or transparent field. A photo usually does not. Portraits, product shots, pets, and lifestyle pictures carry a background, fur, hair, and edge noise. If you animate the whole frame, the paper reads as a postcard. If you isolate the subject first, the paper edge is the subject.
The useful question is not “can a photo become paper animation?” It can. The useful question is whether the subject is sharp enough for a cut-out, and whether you want a looping paper sheet or a one-shot reveal.
3-step photo workflow
A short photo-to-paper path is enough. Upload, isolate, export. Extra effects do not rescue a weak source.
Step 1 — Choose a photo with a clear subject
Use the highest-resolution version you have. Crop toward the subject before upload if the scene is wide and the subject is small.
Photos that work: a face that fills the frame, a product on a table, a pet that is the largest object, a logo on a plain field. Photos that struggle: a distant figure, overlapping people, heavy JPEG blocks, or a screenshot of a screenshot.
If the background is busy, plan to isolate the subject. The paper edge is easier to read when it is not fighting furniture, sky, or text.

Step 2 — Isolate the subject and pick the paper motion
Open the Paper Animator editor and drop the photo in. Two layout choices matter:
- Full paper sheet — the whole image becomes one piece of paper. Use this when the photo is already a clean graphic, or when the background is part of the story.
- Subject cut-out — click the subject for a first mask, then paint or erase the edge. Use this for portraits, products, and pets.
Then pick the motion:
- Paper Cut — a looping 2D flutter or float. This is the reusable social asset: a paper subject that keeps moving.
- Paper Plates — the page opens from a crumpled wad, then the folds fall away until the image sits on the frame. This is the reveal.
If automatic background removal fails to load, paint the mask by hand. The editor does not block the photo; it falls back to a brush.
Step 3 — Export for the next step
Preview the loop, then export from the same tab. Encoding runs locally.
- GIF — the fallback format. It plays in chats, docs, and feeds that will not host a video file.
- WebM or MP4 — shown when the current browser can record them. Use these when the destination is a video editor or a web embed.
- Transparent — keeps the paper on an alpha canvas so you can composite later.
- Green screen — a solid chroma field for video editors that do not take alpha.
There is no separate “animated PNG” exporter. If you need a still cut-out for a layout, export a short transparent GIF or composite the first frame in an editor.
Paper Cut vs Paper Plates for photos
Paper Cut and Paper Plates share the same upload, mask, and export workspace. They answer different photo jobs.
| Photo job | Better mode | Why |
|---|---|---|
| Portrait post that should keep looping | Paper Cut | Gentle float / flutter does not throw a face around |
| Launch or ad that needs a reveal | Paper Plates | The wad-to-image beat is the story |
| Product on a busy table | Subject cut-out + Cut or Plates | The product edge has to be readable first |
| Pet with fur | Subject cut-out, then paint the mask | Automatic masks miss whiskers and ears |
| Logo or already-transparent graphic | Full sheet + Paper Cut | There is nothing to isolate |
A common miss: running Plates on a tiny subject in a wide scene. The wad reads as a grey clump, then the reveal still looks small. Crop first.
Another miss: running Cut on a group photo and hoping the tool “knows” who the subject is. Click the person you want. If two bodies overlap, paint the edge.
Photo preparation that actually changes the result
Photo preparation is not a style preset. It is the difference between a paper object and a floating rectangle.
- Resolution first. A 400px thumbnail cannot grow a believable torn edge. Prefer the camera original, under 10 MB, longest edge up to 4096px.
- Crop to the subject. Extra floor, sky, and furniture become paper you did not mean to animate.
- Isolate busy backgrounds. For portraits and products, subject cut-out usually helps more than raising texture or motion.
- Watch the edge. Hair, fur, glass, and thin straps need a manual paint pass even when the first click is close.
- Match motion to the face. People look wrong if the paper bounces hard. Pets and products tolerate more movement.
Guides that rank for this query often stop at “upload, apply a paper style, export.” One short example of that shape is useful as a skeleton. The part it under-specifies is the photograph: contrast, crop, and whether the background should survive.
Best use cases
Paper animation from a photo is for stills that need more motion than a graphic and less setup than a video edit.
Portraits. Isolate the person, keep Paper Cut motion gentle, or use Paper Plates when the post should open as a reveal. Soft light and a sharp face beat a crowded party shot.
Product photos. A single pack shot can become a looping paper cut-out for paid social, or a Plates reveal for a launch page. Remove the table clutter first so the pack edge is the paper edge.
Pets. Outdoor pet photos almost always need a mask. Fur is the usual repair: click for a first selection, then paint the ears and tail.
Logos and objects. If the file is already a cut-out, skip isolation. Use a full paper sheet and a small flutter so the mark stays readable.
Lifestyle frames. Keep the background only when the place is the point. Otherwise you are animating a room, not a subject.
Export options, without the extra claims
Export should match the next tool you will open, not a format list written for search.
| Output | Use it when | Limit to know |
|---|---|---|
| GIF | The file has to play without a player | Larger files; 10 fps in this editor |
| WebM | You control the page and want a smaller loop | Hidden if the browser cannot record WebM |
| MP4 | You are dropping the clip into a video edit or an ad manager | Hidden if the browser cannot record MP4 |
| Transparent background | You will composite the paper over another design | GIF and some WebM paths keep alpha; MP4 usually does not |
| Green screen | The editor you use keys chroma better than alpha | It is a solid field, not a transparent PNG |
Sizes in the editor are small (480), large (900), and original (up to 1200). Start at large unless the destination is a chat thumbnail.
The photo does not upload to a Paper Animator server during edit or local export. Closing the tab clears the working canvases. You still need the rights to the source image.
What usually goes wrong
Most failed photo-to-paper results are source problems, not missing effects.
- The paper looks like a flat JPEG. The subject was never isolated, or the source is already tiny. Crop, mask, then raise texture — in that order.
- The edge eats the hair or leaves a halo. Click-to-mask is a first pass. Paint and erase the outline.
- Plates look like a crumpled ball and never become the photo. The subject is too small in the frame, or you are watching the wad hold. Crop tighter and let the reveal finish.
- The GIF is too large to post. Drop to 480px, shorten the loop, or switch to MP4 / WebM when the browser offers them.
- The motion makes a face look drunk. Lower movement and speed. Portraits want a small float, not a bounce.
If you wanted only one part of the photo to wobble while the rest stays still, that is a different tool. Use the image wobble workflow instead of paper cut-out.
FAQ
Can I make paper animation from just one photo?
Yes. A single PNG, JPEG, or WebP is enough. The editor does not need a second frame or a video file.
Should I remove the background first?
If the background is complex, yes — isolate the subject in the editor (or before upload) so the paper edge is the subject. If the background is the story, keep the full sheet.
What photos work best?
Sharp portraits, product shots, pets, objects, and logos. The subject should be large in the frame and not hidden by clutter, blur, or heavy compression.
Can I create paper animation from a product photo?
Yes. Product photos are a strong case: isolate the pack, then loop a Paper Cut or use Paper Plates for a launch reveal. The same file can feed ads, posts, and a landing page.
Can I export transparent output?
Yes. Choose a transparent background for compositing. Use green screen when the next app keys chroma better than alpha. This is a looping export, not a still transparent PNG.
Does the photo leave my device?
Editing and local preview stay in the current browser tab. Local export encoding also runs in a supported browser. Check the privacy policy if you need the exact data handling.
Convert the first photo
Upload one photo and test whether paper animation fits the post, the product, or the campaign.
Create from photo in Paper Animator
If you need the longer method — texture, loop length, and platform sizes — continue with how to make a paper animation.